Multi-Factor Authentication (MFA) Setup
Multi-factor authentication adds an extra layer of security to your account by requiring a verification code in addition to your password.
Why Use MFA?
MFA protects your account even if your password is compromised. With MFA enabled:
- Unauthorized access is prevented without your physical device
- Sensitive client documents remain secure
- Your organization meets security compliance requirements
Setting Up MFA
Prerequisites
Before setting up MFA, you'll need:
- A smartphone with an authenticator app installed
- Recommended apps: Google Authenticator, Microsoft Authenticator, Authy, or 1Password
Step-by-Step Setup
-
Navigate to MFA Setup
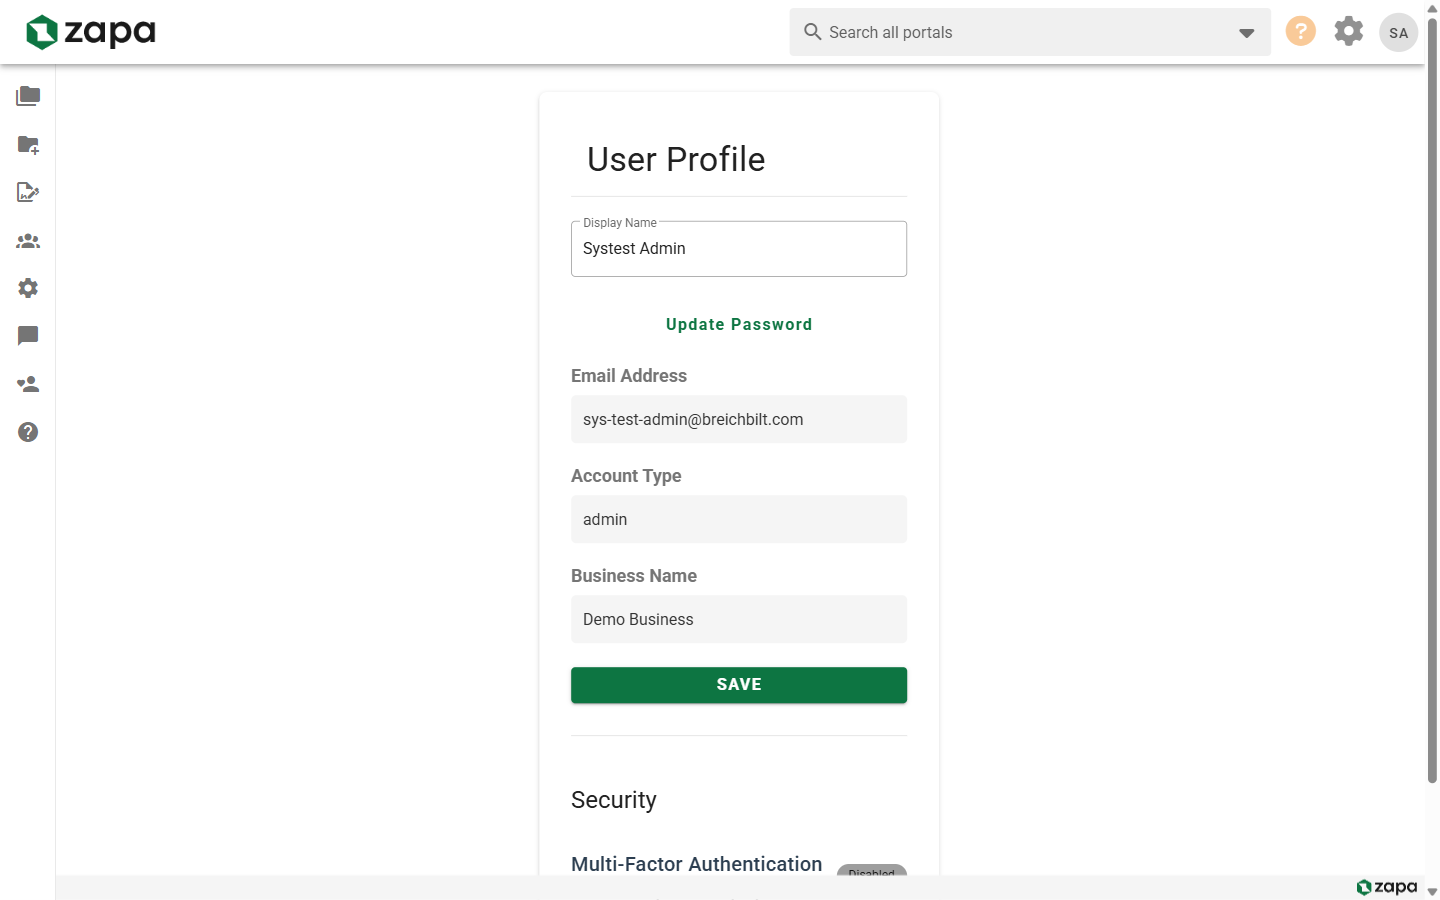
- Click your profile menu in the top-right corner
- Select Profile
- Click Set Up MFA or navigate directly to
/mfa-setup
-
Scan the QR Code
- Open your authenticator app
- Tap the + button to add a new account
- Scan the QR code displayed on screen
-
Enter Verification Code
- Your authenticator app will display a 6-digit code
- Enter this code in the verification field
- Click Verify
-
Save Backup Codes (Recommended)
- After verification, you'll see backup recovery codes
- Save these codes in a secure location
- Use them if you lose access to your authenticator app
-
Confirmation
- Once verified, MFA is active on your account
- You'll need to enter a code each time you sign in
Organization MFA Requirements
Organization-wide MFA enforcement is available on Large Firm and Enterprise plans.
Your organization admin may require MFA for all users. If MFA is required:
- You'll see a banner on the portal list page
- You'll have a grace period (typically 7 days) to set up MFA
- After the grace period, you must have MFA enabled to access portals
Signing In with MFA
Once MFA is enabled:
- Enter your email and password as usual
- When prompted, open your authenticator app
- Enter the current 6-digit code
- Click Verify to complete sign-in
Codes refresh every 30 seconds. If your code is about to expire, wait for the next one.
Managing MFA
Disabling MFA
If your organization allows it, you can disable MFA:
- Go to Profile settings
- Find the MFA section
- Click Disable MFA
- Enter your current MFA code to confirm
Disabling MFA is not recommended and may not be allowed if your organization requires it.
Changing Authenticator Apps
To switch to a different authenticator app:
- Disable MFA on your current setup
- Set up MFA again using the new authenticator app
Troubleshooting
Code Not Working
- Ensure your device's time is set to automatic
- Time sync issues are the most common cause of MFA failures
- Try the next code if the current one is about to expire
Lost Access to Authenticator
If you've lost your phone or can't access your authenticator:
- Use one of your backup recovery codes
- Contact your organization admin to reset MFA
- Set up MFA again with a new device
Backup Codes
- Each backup code can only be used once
- Store them securely (password manager, printed copy in safe)
- Generate new codes if you run low
Related Topics
- Signing In - Sign-in methods and options
- Profile Settings - Update account information
- Security Settings - Organization security options (Admin)